


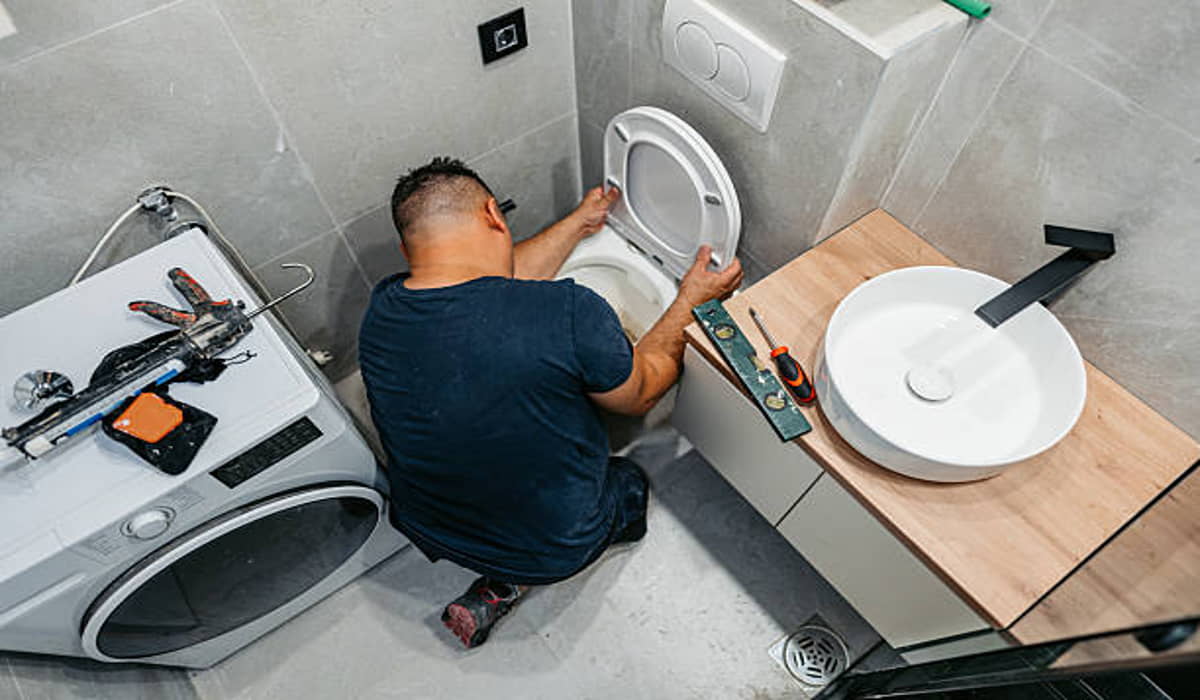
Installing a toilet yourself is possible if you are replacing an existing toilet and the plumbing connections are already in place. For a straightforward replacement, the job is generally considered DIY-friendly, provided the existing flange, drain connection, floor, shut-off valve, and water supply are all in good condition.
However, there is an important difference between replacing a toilet and installing a toilet where one did not previously exist. A new bathroom or a toilet in a different location may require changes to the drain, water supply, and potentially venting.
Those plumbing changes are much better handled by a qualified plumber and may also require permits depending on local regulations.
When Can You Install a Toilet Yourself?
DIY installation makes the most sense when you already have:
- An existing toilet drain
- A properly positioned toilet flange
- A working shut-off valve
- An existing water supply line
- A suitable and level bathroom floor
- Plumbing that does not need to be relocated
In this situation, you are primarily replacing the fixture rather than modifying the home’s plumbing system.
The basic process involves shutting off the water, draining and removing the old toilet, inspecting the flange, installing a new wax ring or suitable seal, positioning the new toilet, securing it to the floor, connecting the water supply, and checking for leaks.
When Should You Call a Plumber?
You should consider hiring a plumber if you discover a damaged flange, leaking drain connection, deteriorated flooring, an unreliable shut-off valve, or plumbing that does not line up with the new toilet.
A plumber is also the better choice when you are installing a toilet in a new location. This can involve running a new water supply line and connecting a new drain to the home’s drainage and vent system.
Other situations where professional help makes sense include:
The Toilet Flange Is Damaged
The flange connects the toilet to the drain and helps secure it to the finished floor. If it is cracked, badly corroded, loose, or incorrectly positioned, simply installing a new toilet over it may result in leaks or an unstable toilet.
The Toilet Rocks After Installation
A properly installed toilet should sit firmly on the floor. If it rocks, the problem may involve the floor, flange height, alignment, or installation itself. Do not simply keep tightening the bolts because excessive tightening can damage the porcelain.
You Notice Water Around the Base
Water appearing around the bottom of the toilet can indicate a problem with the seal between the toilet and flange. This should be addressed rather than ignored because continued leakage can damage the underlying floor.
The Shut-Off Valve Is Leaking
If the valve does not close properly or begins leaking when you disconnect the old supply line, replacing it may require additional plumbing work. Shut-off valves can be connected using different methods depending on the existing pipe, so this is a good point to bring in a professional if you are not comfortable with plumbing connections.
How Difficult Is Toilet Installation?
For a basic replacement, toilet installation is usually more about care and correct preparation than advanced plumbing skills.
The toilet itself can be heavy and awkward to handle, so having another person available can make removal and installation easier.
The most important parts are creating a proper seal, securing the toilet without damaging it, connecting the water supply correctly, and testing everything before considering the job complete.
A typical replacement involves the following steps.
1. Turn Off the Water
Close the shut-off valve near the toilet and flush to empty the tank and bowl. Disconnect the supply line and keep a bucket or towels nearby for remaining water.
2. Remove the Existing Toilet
Remove the mounting nuts from the floor bolts and carefully lift the toilet away from the flange.
If the toilet is heavy, having someone help you lift it reduces the risk of dropping it or damaging the floor.
3. Inspect the Flange
Once the old toilet is removed, inspect the flange and surrounding floor.
The flange should be properly positioned, securely attached, and in suitable condition for the new toilet. A damaged flange should be repaired before installing the new fixture.
4. Install the New Seal
A new wax ring or appropriate toilet seal is normally used to create the connection between the toilet and drain flange.
Never assume that the old seal can be reused.
5. Position the Toilet
Carefully lower the toilet over the mounting bolts and press it down evenly so the seal forms correctly.
The toilet should sit squarely and firmly on the floor.
6. Secure the Toilet
Install the washers and nuts and tighten them gradually.
Avoid overtightening. Too much force can crack the porcelain base.
7. Connect the Water Supply
Attach the supply line between the shut-off valve and toilet tank.
Open the valve slowly and allow the tank to fill.
8. Check for Leaks
Flush the toilet several times and inspect the supply connections, tank, and base.
Pay particular attention to the area around the toilet base because leakage there can indicate a failed or incorrectly installed seal.
What Tools Do You Need?
For a straightforward toilet replacement, you may need:
- Adjustable wrench
- Screwdriver
- Bucket
- Towels or rags
- Putty knife
- New toilet seal
- New mounting bolts
- Water supply line if required
- Hacksaw for cutting excess bolts
The exact tools depend on the existing installation and the toilet model.
If the flange or water supply needs modification, the required tools and skill level increase considerably.
What Is the Biggest DIY Toilet Installation Mistake?
One of the biggest mistakes is assuming that the toilet itself is the only thing that matters.
The connection underneath the toilet is just as important.
A toilet needs a properly aligned flange, a good seal, stable floor support, and a correctly connected water supply. A toilet that looks perfectly installed can still leak if the seal or flange connection is wrong.
Another common mistake is overtightening the mounting bolts.
Porcelain is strong but brittle. Tightening the bolts excessively can crack the toilet rather than making the installation more secure.
DIY Toilet Installation vs Hiring a Plumber
| Situation | DIY or Plumber? |
|---|---|
| Replacing an identical toilet | DIY may be suitable |
| Existing flange is in good condition | DIY may be suitable |
| Existing water supply works properly | DIY may be suitable |
| Damaged toilet flange | Plumber recommended |
| Leaking shut-off valve | Plumber recommended |
| Damaged flooring around toilet | Plumber/contractor recommended |
| Moving toilet to another location | Plumber recommended |
| Installing a completely new toilet location | Plumber recommended |
| New drain or vent work required | Plumber recommended |
| Repeated leaks after installation | Plumber recommended |
What About Permits?
Permit requirements depend on your location and the scope of the work.
A straightforward fixture replacement may be treated differently from installing a new bathroom or changing the home’s plumbing system.
If you are adding a toilet where there was previously no fixture, check with your local building or plumbing authority before starting. New drain, supply, or vent work may be subject to local plumbing codes and permit requirements.
So, Should You Install the Toilet Yourself?
Yes, you can install a toilet yourself if you are replacing an existing toilet and the underlying plumbing is already correctly installed and in good condition.
If the job involves changing plumbing, repairing a flange, moving the toilet, dealing with leaks, or creating a new bathroom connection, hiring a plumber is the safer choice.
The key is knowing where a simple fixture replacement ends, and actual plumbing work begins.
If everything lines up and the existing connections are sound, a DIY replacement can be a manageable home project. But if you uncover damaged or incorrectly installed plumbing after removing the old toilet, do not try to hide the problem under the new fixture. Fix the underlying issue first.
A toilet may be a relatively simple bathroom fixture, but its connection to the home’s water and drainage systems needs to be reliable. Taking the time to inspect those connections can prevent leaks, floor damage, and much more expensive repairs later.